Local Development
This project was bootstrapped with Create React Native App. This tutorial assumes basic knowledge of the React Native app development workflow. It is not intended as a tutorial. If you need more information about React Native, the latest version of this guide is available in the online tutorial.
Run a Local Server
After setting up and testing your Informfully instance, you are ready to deploy your solution. For your convenience, we have created a script that automatically deploys the back end to any local or cloud server. Navigate to the main directory of your codebase and execute the following script:
    # To run the server on port 3008 with
    # Settings configured for the development environment...
    ./meteor-start.sh

    # ...and...
    bash meteor-start.sh

    # ...or by specifying --port directly to run the server with
    meteor --port 3008 --settings settings-dev.json
Make sure that you are specifying the same port that you are using in the React Native App. If you want to access the server from within your network, replace --port 3008 with --port <YOUR_LOCAL_IP_ADDRESS>:3008. The back end is now running, and the administration website is accessible via localhost:3008.
INFO
In terms of database setup, you can connect to the database through mongodb://localhost:3009/ if your Meteor server is running on port 3008. If the user collection in the database is empty when starting up, a new user with Maintainer role is automatically created by the genesis.jsscriptGenesis script located here. In this documentation, we adhere to MongoDB's naming convention. Tables are collections, and tuples are documents. There is no need for you to create a document collection, as MongoDB will automatically create one when you insert the first document into a collection that does not yet exist.
You will need to install the following libraries and packages on your machine:
- Meteor. The globally installed Meteor version does not matter, as the project will use the project-specific one defined in Meteor Release Version, currently v2.14`_).
- Xcode (macOS only) for iOS development and Android Studio for Android development.
- Node.js Version 16.
- Yarn Version 1.22 or higher.
- npm Version 8.1 or higher.
To check whether you already have them installed, simply check the version in a terminal:
    # Check whether Meteor is installed and in PATH
    meteor --version

    # Check whether Node is installed and in PATH
    node -v

    # Check whether npm is installed and in PATH
    npm -v

    # Check whether yarn is installed and in PATH
    yarn --version
Also, do not forget that it is best if your development and production environments have the same package versions (meaning that the libraries on the deployment server for the website and back end and Docker container setup should also be updated).
Connecting to Local Server
Inside the App.js Configuration), change the SERVER constant so it will connect to your local server. E.g., if the client runs on the same computer:
const SERVER = 'localhost'If you want to use your client on a different computer in the same network, replace localhost:3008 with <YOUR_LOCAL_IP_ADDRESS>:3008.
After you have set the SERVER constant, you can do the following to start the client:
# Go to the frontend directory
cd frontend
# Install all packages
yarn install
# Start expo
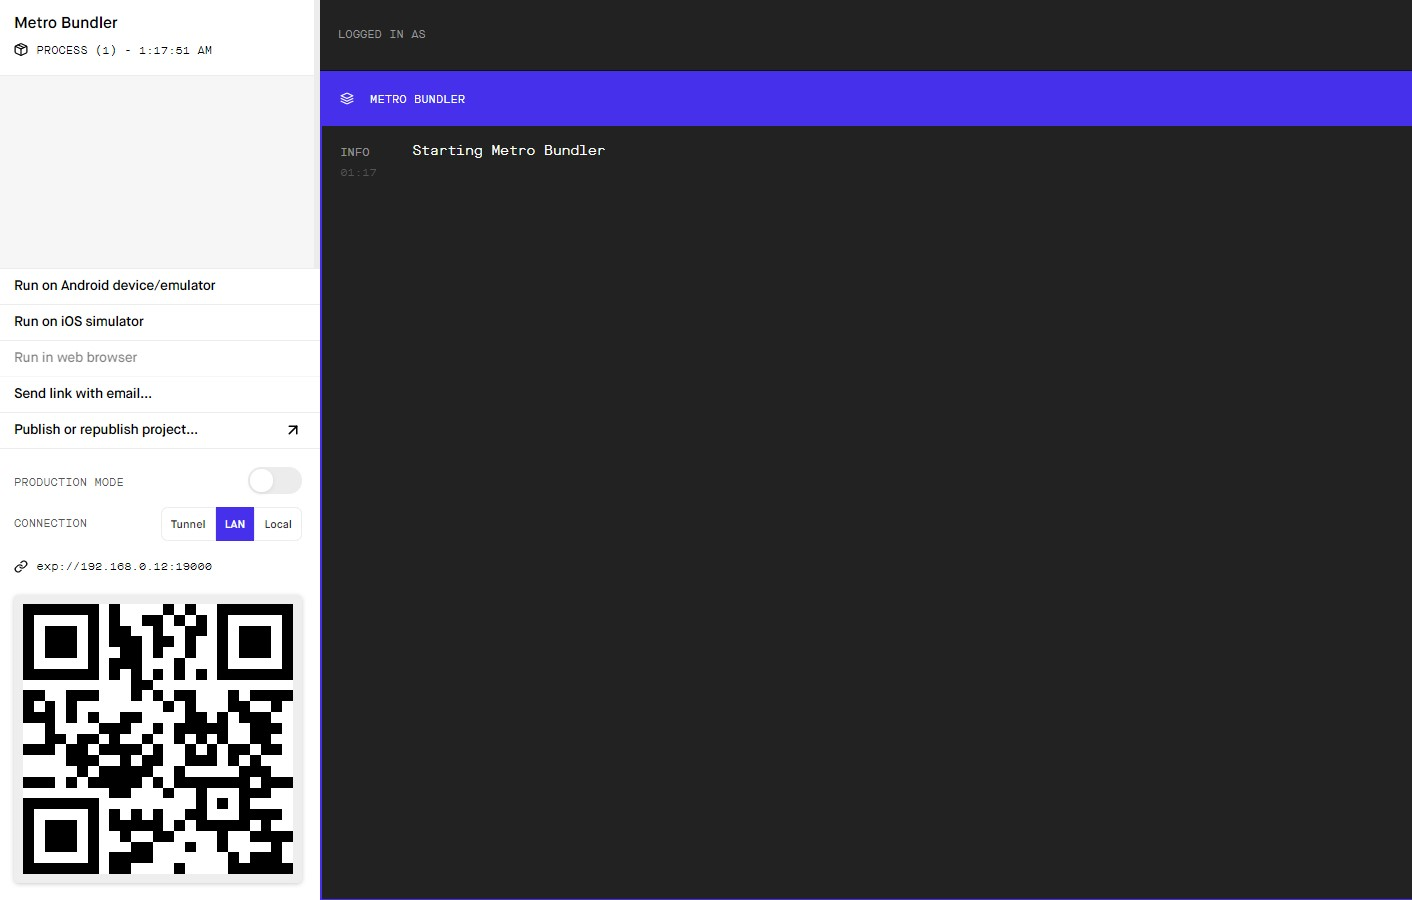
npx expo startINFO
Important npx comes with npm and hence with Node.js. npm will automatically fetch Expo. If prompted, install npx and/or expo as required.
Afterwards, you can scan the QR code that appears, if you want to test the app on a physical device (recommended). Or you can connect to a device emulator (e.g., Android Studio or Xcode).
The app will run in the Expo Go App and any changes to the source code will be automatically reflected in Expo Go.
Helper Scripts for Maintainers
Meteor encrypts all passwords for users created using the bcrypt algorithm, which ensures that each password is encrypted a second time with an unknown "salt" value. This protects against embarrassing password leaks if the server's database is compromised.
When a user logs in, the Meteor Account System checks the encrypted password generated with its "salt". Trying to decrypt the salt is just as difficult as decrypting the password, given the nature of the bcrypt algorithm. This special encryption mechanism employed by Meteor makes it impossible to insert a new user into the database without using Meteor.
Therefore, to create the very first Maintainer, we provide the main.js and genesis.js scripts that were run when the server was initialized. We connect (with main.js) and check (with genesis.js) if the database is empty. If so, we insert a new user with the information below (see again genesis.ja).
main.js
    //backend/server/main.js
    import { Meteor } from 'meteor/meteor';
    import '../imports/startup/server';
    import '../imports/api/server/publications';
    import './genesis'

    Meteor.startup(() => {

        if (process.env.MAIL_URL === undefined || process.env.MAIL_URL.length === 0) {
            process.env.MAIL_URL = 'smtp://localhost:25';
        }

    });
genesis.js
    import { Accounts } from 'meteor/accounts-base'
    import { Meteor } from 'meteor/meteor';
    import '../imports/startup/server';


    if (Meteor.users.find().count() === 0) {

        const new_user = {
            "username": "[USERNAME]",
            "email": "[USERNAME]@[DOMAINN]",
            "password": "[PASSWORD]",
            "roles": [
                "user", "admin", "maintainer"
            ]
        };

        Accounts.createUser(new_user);

        console.log("First user created");

    }
INFO
It is recommended to delete this user after another Maintainer has been created to ensure the system's security. This applies to both local and online back end deployments.
Next Step: Platform Deployment
Please see the next instruction pages for App Deployment and Website Deployment.